

How To Dull A Glossy Finish Without Sanding
As an Amazon Acquaintance we earn from qualifying purchases.
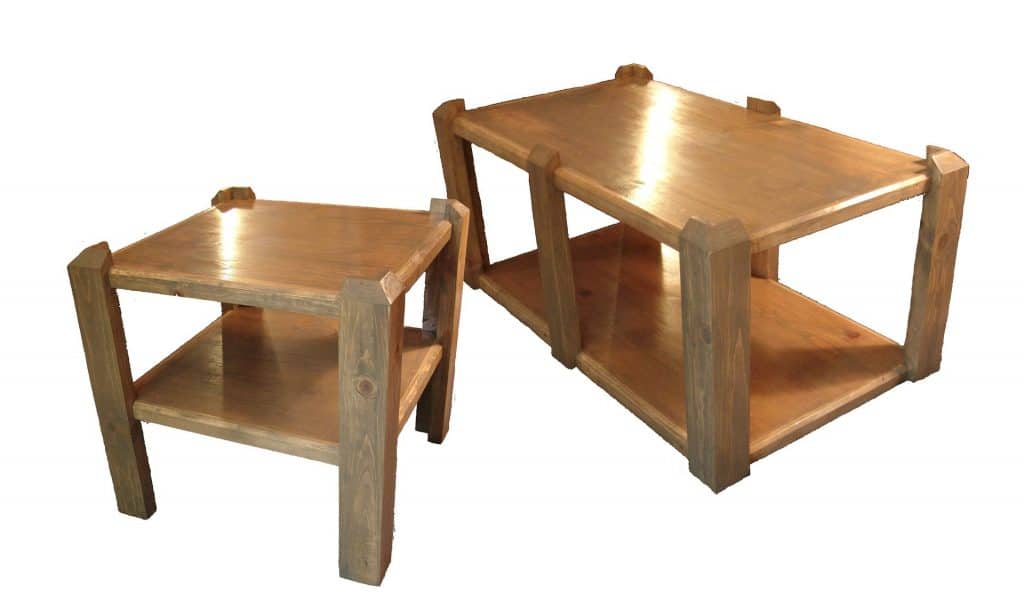
Sleeky finishes are typical in many products and fixtures. As a professional carpenter or a DIY buff, in that location'll come up a time when you'll want to alter that glossy shine for a more matte terminate. Knowing how to dull a glossy finish is going to come up in handy.
You could be looking to give your grandmother'southward old dresser a makeover. Or possibly your customer wants a duller finish to that mirror frame you custom-fabricated. Whatsoever the projection, it's not as difficult every bit information technology may sound.
Depending on the kind of matte finish y'all want, there's more than one way to get about information technology. Nosotros'll guide you through the best approaches.
Contents
- Sanding and Polishing Method
- Step one ‒ Sanding
- Footstep ii ‒ Coarse Polishing
- Sanding and Finishing Method
- Step 1 – Crude up the Surface
- Step ii – Spray the Cease
- Deglossing Method for Metal Parts
- Step ane – Detach the Metal Parts
- Step 2 – Apply Deglosser
- Step 3 – Spray on Varnish
- Brushing Method for Plastic Parts
- Safety Tips
- Wrapping Upwardly
Sanding and Polishing Method
The easiest and almost straightforward method is sanding and polishing. You should ideally brainstorm with this technique. To start, you lot're going to need:

- Sandpaper: Y'all'll demand to have a variety of grit. We recommend 220-, 320-, 400-, and 600-dust paper. You may need finer sandpaper.
- Clean grit cloths: Whatsoever cotton cloths volition do. Microfiber will also be good. Make certain you have a few pieces of cloth fix as they'll quickly get dirty.
- Orbital sander: You may not need this. It all comes down to the degree of matte end you're looking for.
- Polishing compounds: Y'all'll need these to utilize them with the orbital sander. Get a coarse compound plus a finer 1.
You tin purchase all these items from your local hardware shop.
Step 1 ‒ Sanding
First, wipe down your item with soapy water to remove whatsoever debris or dirt on the surface.
Before you kickoff, information technology'south crucial to check and encounter how thick the top coat of your piece is. If it's thick, and then rub the surface with 220- or 320-grit sandpaper.
If it's thin, or you're not sure, then start with 400-grit to avoid accidentally removing too much of the top layer. You lot could damage the bodily wood underneath.
Rub the surface in one case all over, then wipe it down with a petty soapy water.
Next, you need to fifty-fifty out the surface to remove any marks from buffing. Using the 600-grit sandpaper, rub the surface again and wipe it down. This will become rid of any inconsistencies. If yous're happy with what y'all're seeing, then you lot're basically done.
If you lot need to put a lilliputian gloss back, utilize 800-grit sandpaper. Keep rubbing using finer sandpaper until y'all become the finish that you want.
You can go all the way up to 1400-grit. The college grit sandpaper will give you a smoother, satiny, finish.
Stride ii ‒ Coarse Polishing
You lot'll but demand to do this step if the last one didn't give you the look y'all wanted. Now you're going to demand the electric sander.
We recommend using a random orbital sander, rather than the traditional orbital canvass ones, for a more than professional consequence, every bit well as for the greater versatility information technology will give you while yous work.
In the issue that you don't have one, it would exist a good idea to browse some of the latest models earlier making a purchase. Information technology's piece of cake to purchase 1 online. However, you may desire to visit your local hardware store kickoff and actually hold the sander and feel its weight and grip in your paw.
Once you have your orbital sander ready, follow these steps:
- Utilise the coarse polishing compound to the sander'due south buffing pad. Go over the surface without applying extra force per unit area.
- Wipe down the surface with some soapy h2o. Leave it to dry.
- Utilise the sander again with the finer polishing chemical compound if you need a niggling more than sheen.
You should now take a very professional person top finish. Well-nigh people are satisfied at this stage.
In example yous're however not, read on. We'll walk you lot through some other method.
Sanding and Finishing Method
For some projects, the sanding and finishing technique might exist a better pick. For this next arroyo, yous're going to need these items from the hardware store:
- 220-grit sandpaper
- Matte finishing spray
- Clean dust cloths
Step 1 – Rough upwardly the Surface
Assuming yous followed the polishing method above, and it didn't give y'all the effect yous wanted, you lot'll need to remove the chemical compound that was applied by using a solvent, preferably a mild one like mineral spirits; then sand down the slice with 220-grit paper.
If you're just starting on your piece, buff the surface all over with the coarse sandpaper.
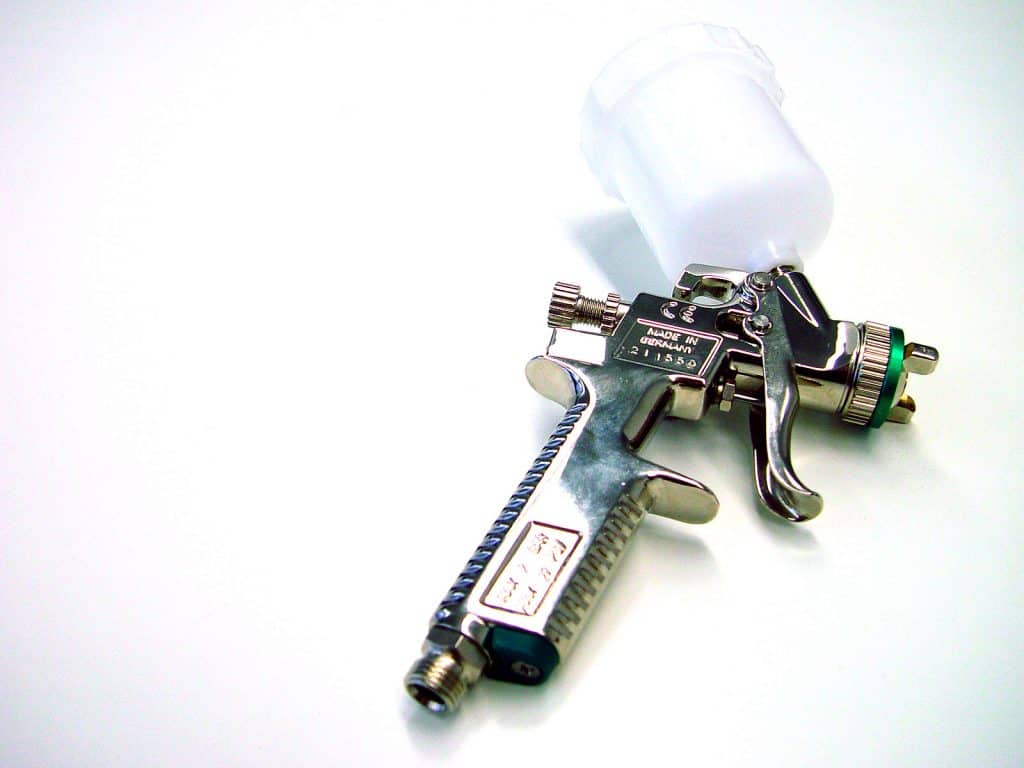
Step 2 – Spray the End
Next, wipe down the piece and allow the surface dry out. One time clean and dry, lightly spray the piece with the matte finishing coat. Offset off with a light coat; leave it to dry and then spray it again.
Yous can lightly re-apply the cease every bit many times as you need to reach the desired look, merely be sure to let it dry well each fourth dimension before deciding to re-apply.
Spraying tin sometimes be a catchy job. Keep your hand steady at a abiding distance from the slice and avoid leaving gaps while you spray.
Deglossing Method for Metal Parts
Suppose the furniture piece you're working on has glossy metal fixtures, like handles and locks, and you want to give them a more than matte expect? Don't worry, you can easily do then.
You'll demand these items from your hardware store:
- Liquid deglosser
- Clear matte varnish spray
- Make clean dust cloths
- A brush (you lot may not demand it)
Step 1 – Disassemble the Metallic Parts
If the metal pieces can be removed from the article of furniture piece, take them off and work on them away from the wood. If they can't exist removed, cover the wood surface thoroughly with strips of cloth for protection.
Footstep 2 – Apply Deglosser
- Add some liquid deglosser to a piece of cloth and rub the metal part with it. Use a circular motion when doing then.
- Continue applying deglosser using the cloth while changing it oftentimes to avoid getting any clay stuck to the surface.
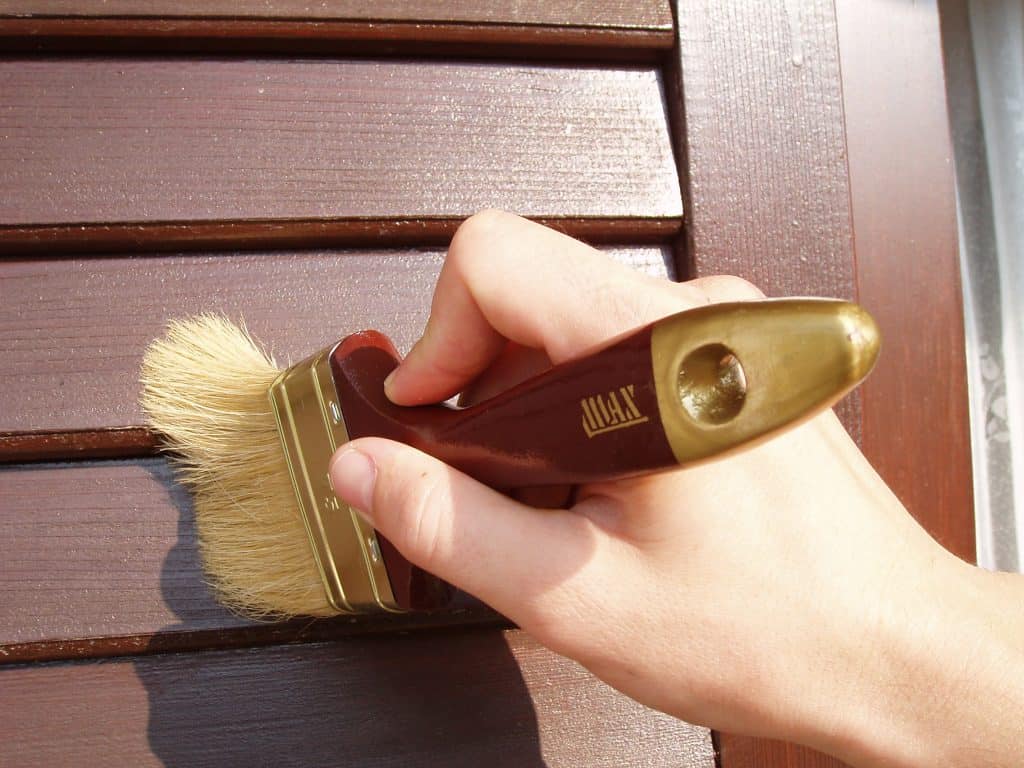
- Expect half an hour and cheque the piece. If information technology's still also glossy, utilize another coat of deglosser using a brush. Wait for it to dry.
Keep repeating Step C until the piece has been deglossed to your sense of taste.
Pace three – Spray on Varnish
- Shake the varnish-tin can well; agree the can near 10 cm away when spraying. Spray the surface as evenly every bit possible.
- Leave it to dry for 10 minutes. Spray on another layer.
- Now get out the piece to dry for three hours.
The varnish top coat will preserve the finish.
Brushing Method for Plastic Parts
The piece you're tackling could have plastic parts that you lot want to dull too. This tin can be done with a elementary brushing technique. All you lot need is a Scotch Brite scouring pad.
Brush the surface of the plastic part back and forth evenly. Apply force per unit area for a more than brushed issue, but keep brushing in the same direction.
Safety Tips
Safety is always important whenever y'all're working with tools or chemicals.
- Make sure you lot piece of work in a well-ventilated area
- Always wear a mask
- Paints could exist flammable, so stay away from fire or rut sources
- Be extra conscientious around spray painting or chemic compounds
- Article of clothing goggles likewise to protect your optics from the dust and vapours.
How to Spray Varnish on Outdoor Wood Furniture for a PERFECT Cease
Wrapping Up
Knowing how to dull a sleeky finish efficiently and effectively is an important skill for anyone working with forest piece of furniture. Overall, it's a relatively easy skill to acquire and with a niggling exercise, y'all can produce a perfectly professional person event.
Source: https://sawshub.com/how-to-dull-glossy-finish/

0 Response to "How To Dull A Glossy Finish Without Sanding"
Post a Comment